I love
Pinterest. It suits me very well because I'm not very imaginative. I execute crafts much better than I create them from scratch, so Pinterest, with all of it's already conveniently compiled beautiful craft ideas, is my new best friend. I was inspired to try this ribbon wreath when I came across a photo from
She's Kinda Crafty.
The project supplies are pretty simple (which is what intrigued me):
1 straw wreath form
1 roll of extra wide white floral ribbon
6-8 rolls of ribbon of your choice
Scissors
Ruler
Sewing machine
Hot glue gun
Also, lots of patience.
I started by wrapping the straw wreath form with the extra wide floral ribbon. I have no picture of this because it was a messy ordeal. I'd never worked with a straw wreath before, and now I know.... until it's covered in ribbon, work with it outside. Straw goes everywhere.
Then I set to cutting my colored ribbon into 4.5" pieces. I used two 1.5" varieties, four 1" varieties, and a 5/8" ribbon that filled in any small holes on the finished wreath really well. I had 30-35 cuts of each ribbon.
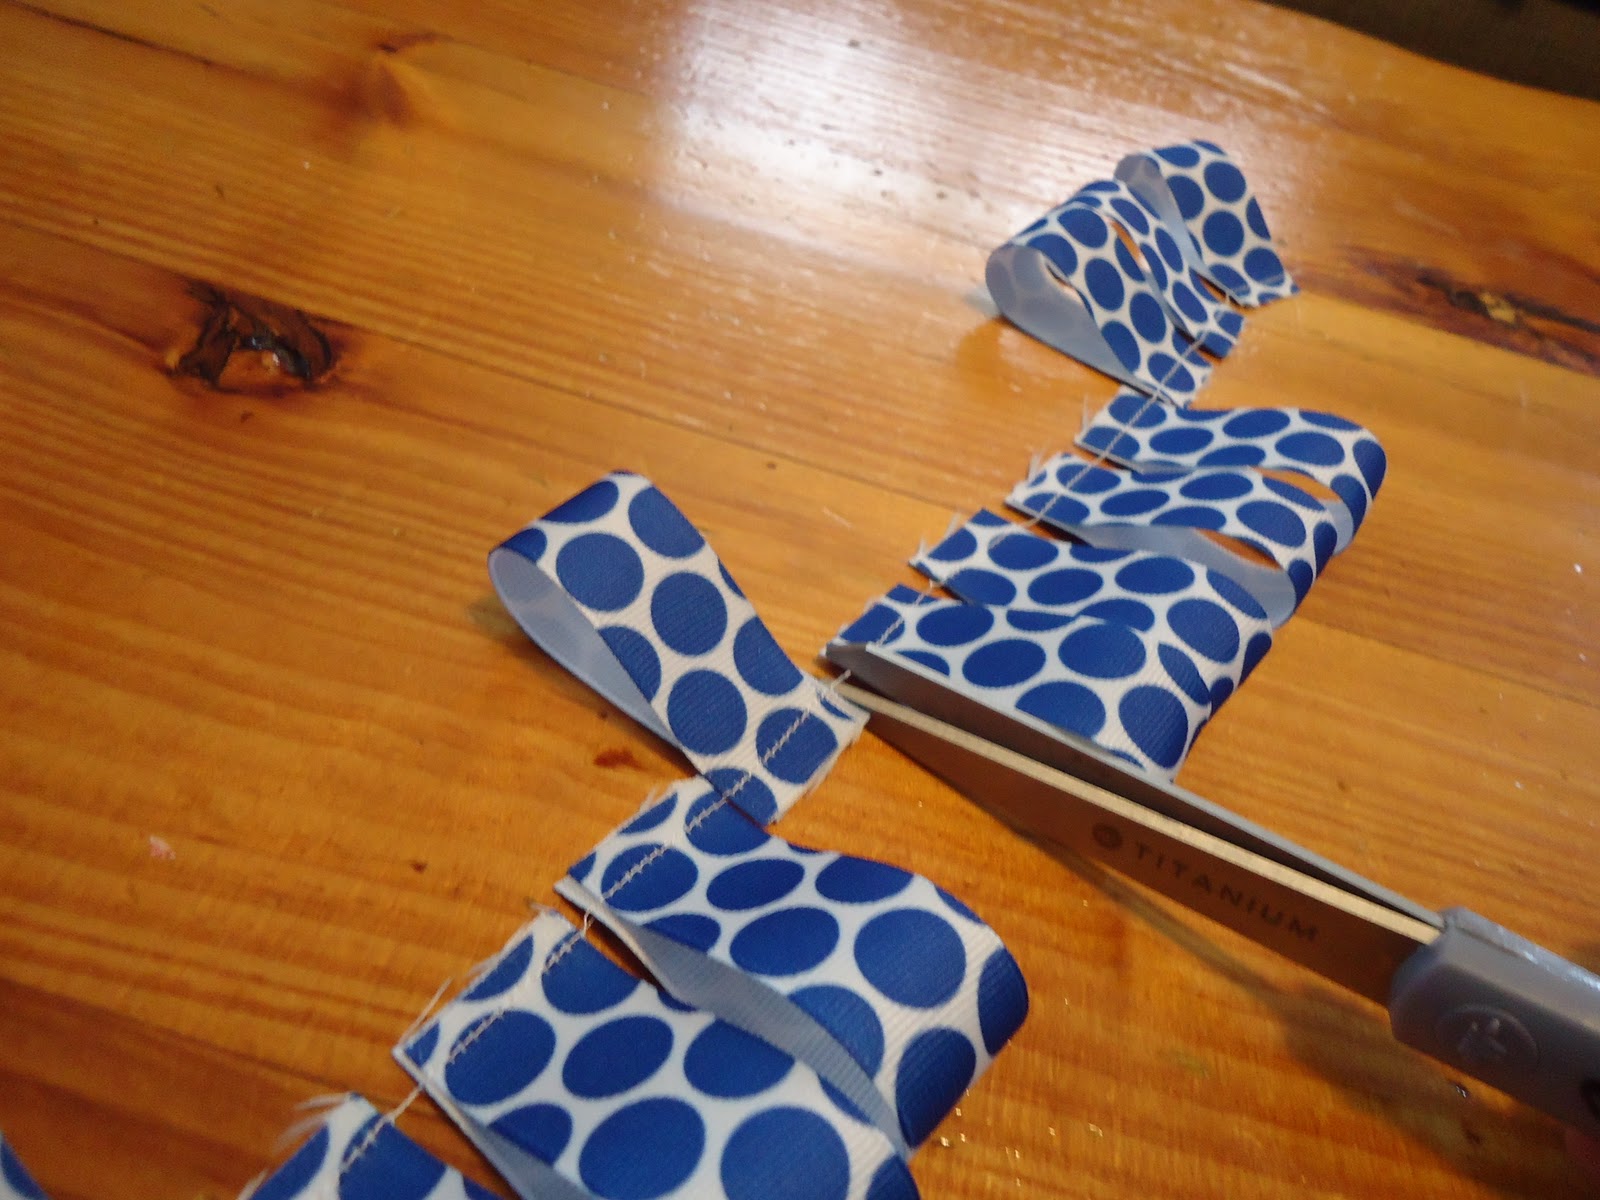
Then each piece was sewed into a loop. I simply folded each ribbon in half and fed them through the sewing machine one after the other giving myself about 1/4" allowance to glue the loops to the wreath.
This is what they all looked like when I was finished. SO MUCH RIBBON!
It was almost sad to have to cut the loops apart.
The final step is gluing the ribbon loops to the wreath form. Simply part the ribbon below the stitched enclosure and put in a bead of hot glue (watch your fingers!). Glue ribbons to the wreath form in bunches. Spreading out and working all over the surface at one time will make for a lot of awkward little holes to fill in.
And after a little over three hours gluing ribbons to wreath, here's the final product. My Cavalier blue ribbon wreath! I hope you like it as much as I do. :)